Letterpress Class 2

Last Thursday, we learned how to make a polymer plate and how to print from the plate, how to do 2 color print.

Here’s what a polymer plate looks like (I had no idea it was that thin!) – You use it with the board underneath:
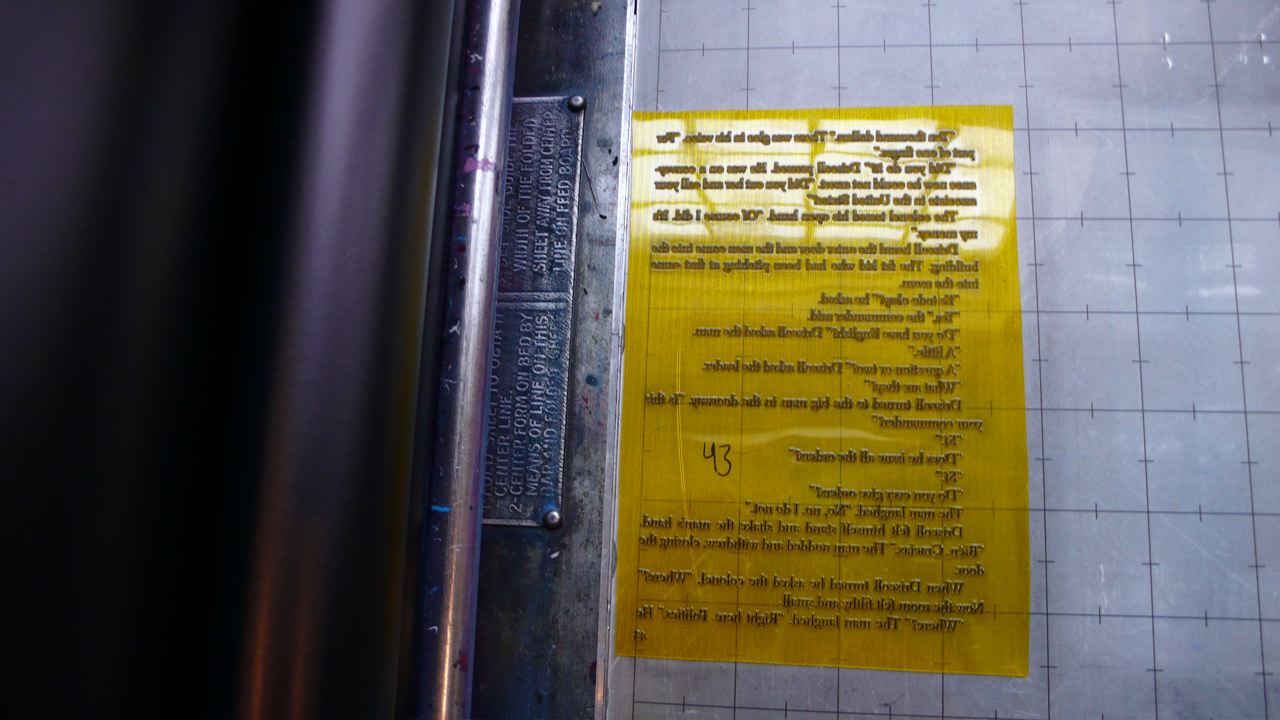
I also learned about how much ink to use, I kept putting too much ink and that wasn’t good… You really don’t need that much ink to print.

So we have no class next week and we have to order the plate by following class so we can start printing from the plate – I have so many ideas and things I want to print, I have to work on it! You create a digital file and then order the plate.

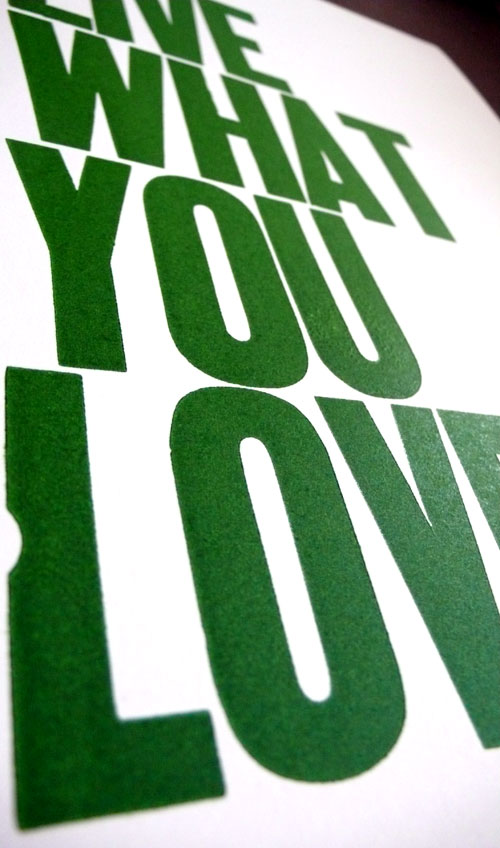
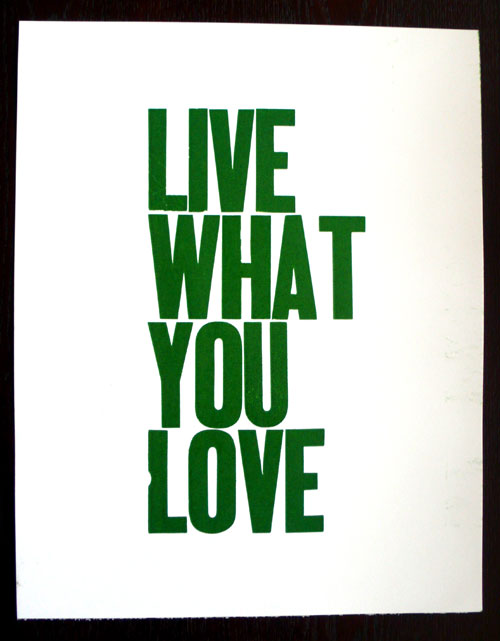
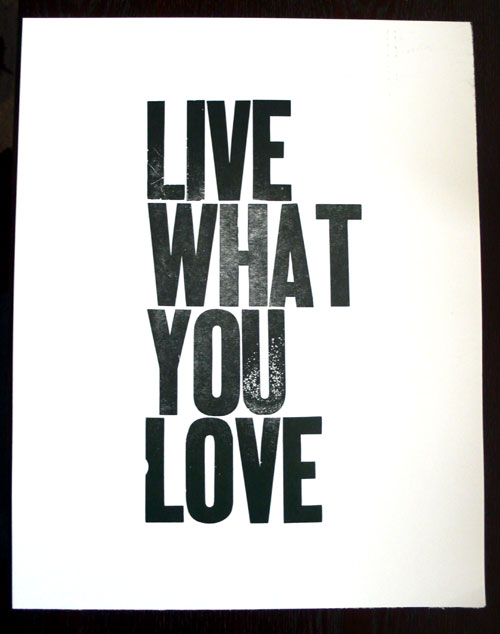
For the rest of the class, I used wood type and printed some posters:

“Live What You Love” Green:
“Live What You Love” Black:
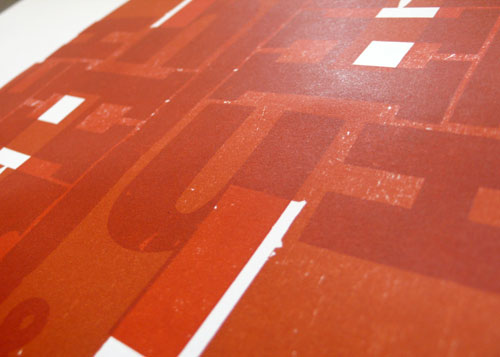
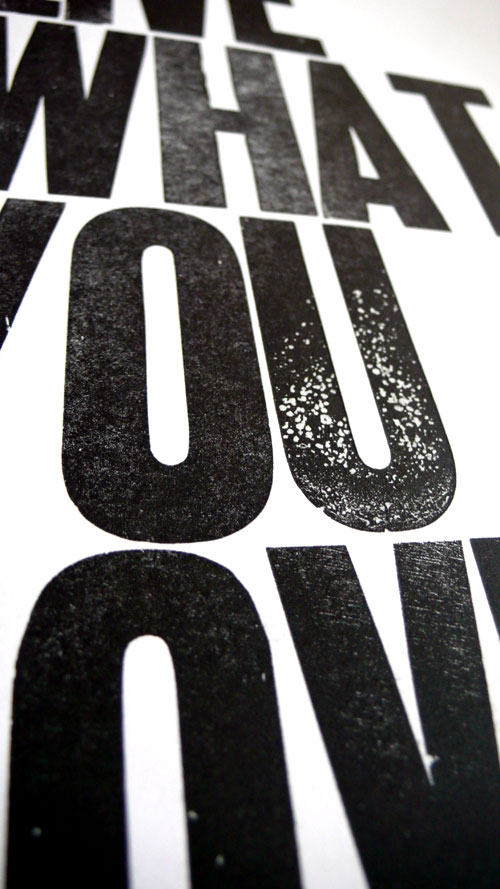
After reducing the ink (I had too much at first), the “U” showed an interesting texture:
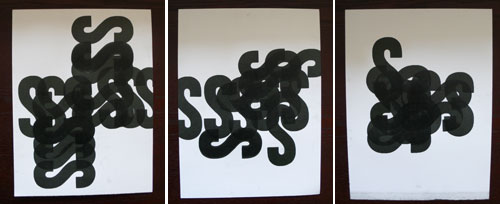
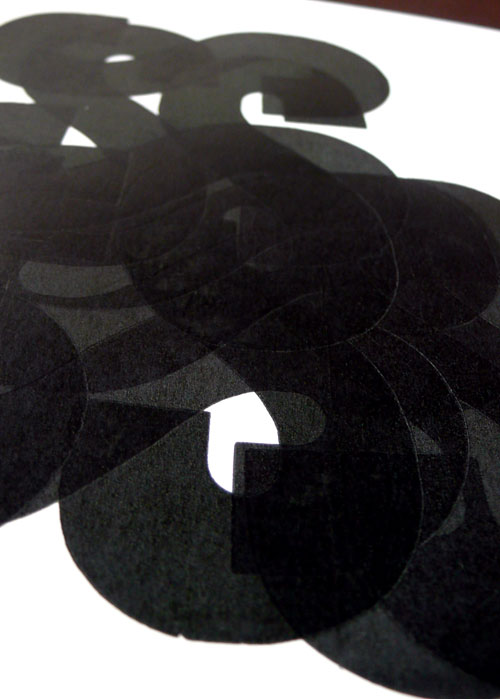
And then, I had 30 more minutes to play around so I just took letter “S” and did some fun with it:
So I’ll come back to Letterpress Monday in 2 weeks!
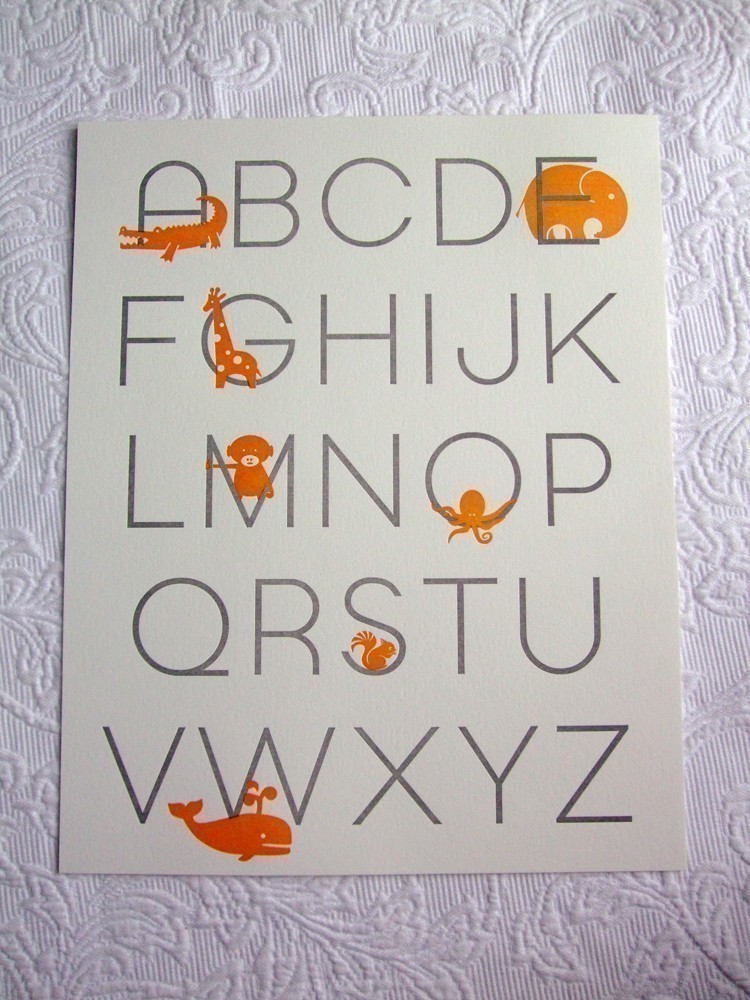
Sycamore Street Press

Sycamore Street Press has this cute alphabet letterpress poster – very simple and clean, yet so fun and cute!

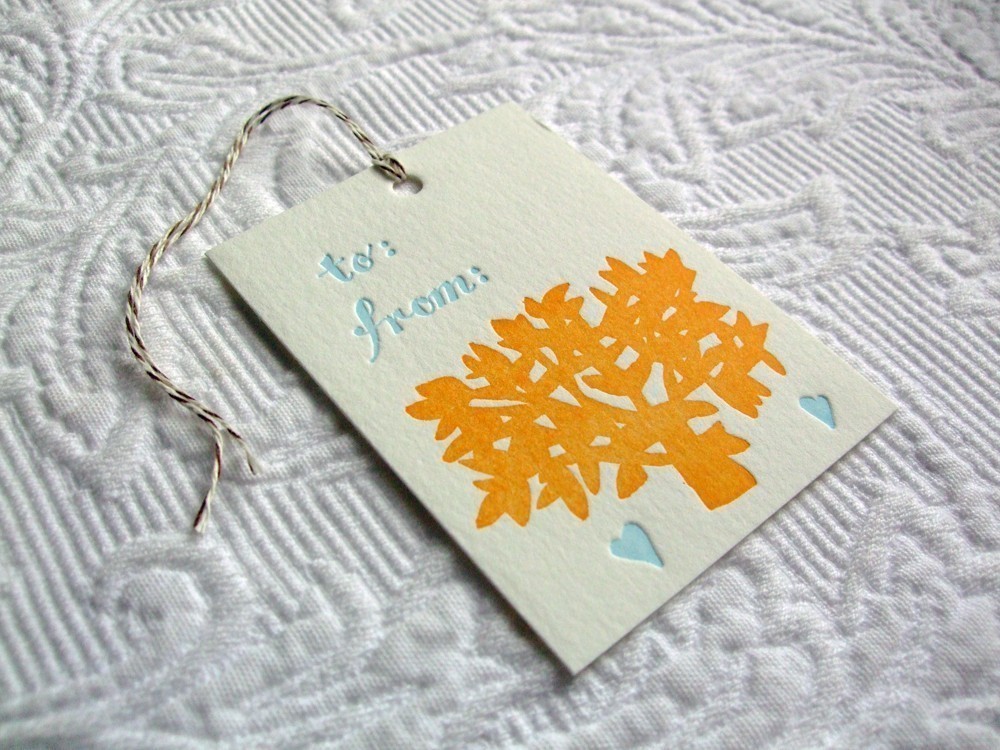
They also have these letterpress gift tags that are just so cute. Makes your gift even more special and who doesn’t love the little hearts!

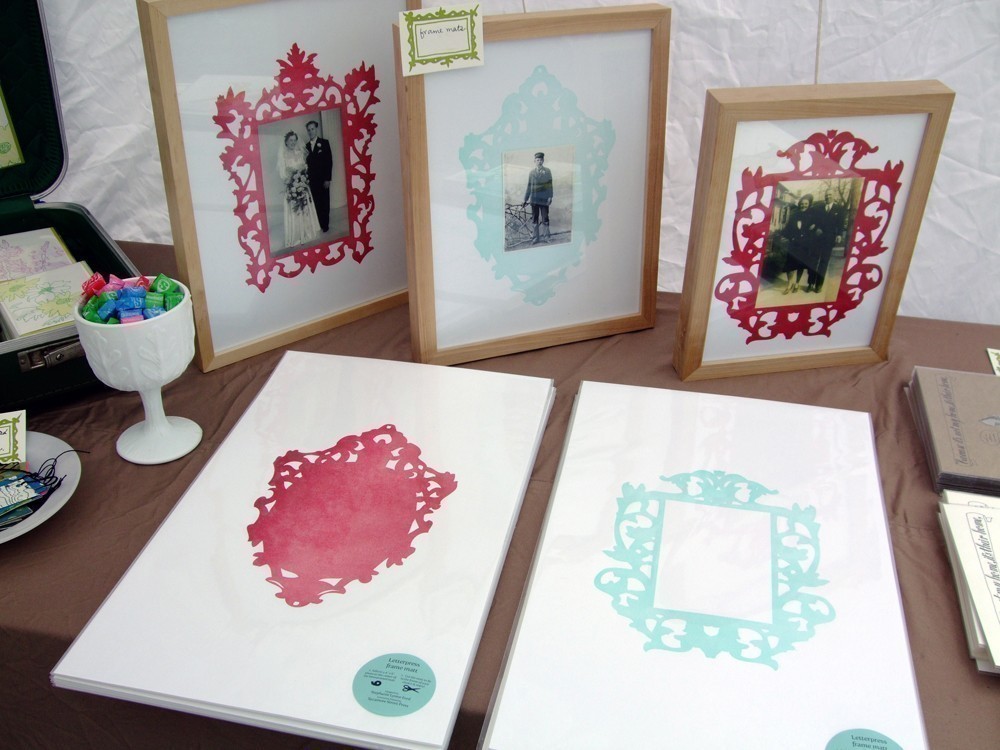
And I’ve been meaning to purchase their letterpress frame mats, they are just so gorgeous.

I think I am inspired and ready for tonight’s letterpress class!

My Letterpress Prints

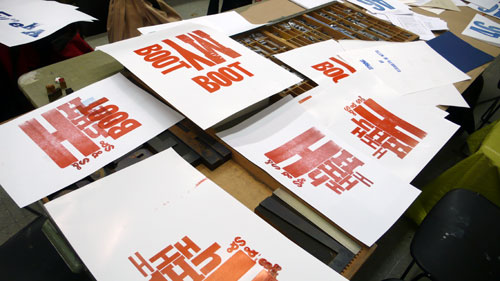
Here is my favorite work from the first class. Lot of different Hs and a few ampersands and dollar signs and printed twice in different way. I love the overlapping part, makes different red and gives different shapes.

This one had less ink and a little different red and I like the texture this one has!

Letterpress Class 1

I had such a fun time at my first lettepress class last Thursday. I could have kept printing all night long!

Here, I’m gonna briefly explain what I’ve learned with pictures I’ve taken during the class. This was the first class so it was an introduction to letterpress, how to set type using wood types, and how to print by using Vandercook Press.

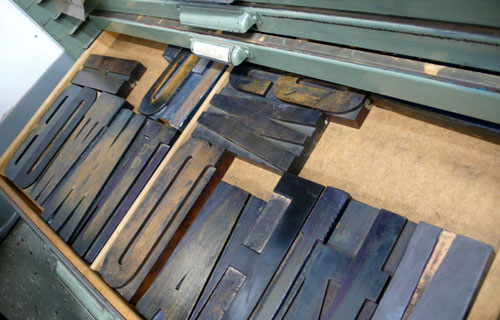
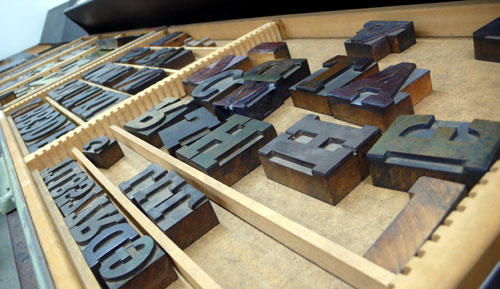
So many wood types! I love the big ones:

We started picking up letters that you want to print.

It’s so fun just looking at them.

And then, we use these

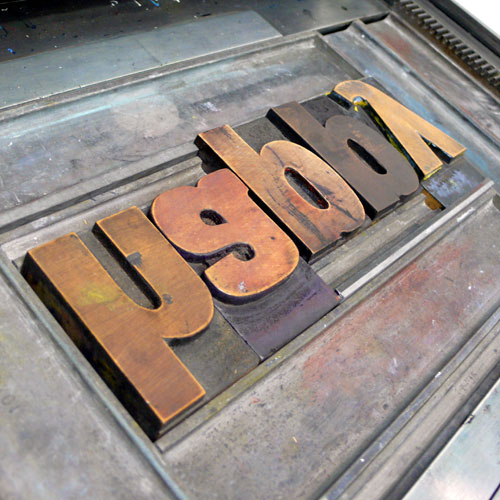
and these to set type in the Vandercook so the type won’t move around while you are printing. You need to measure the empty spaces and get the perfect ones to go along – lot of math, lot of eyes, it is like a puzzle, too.

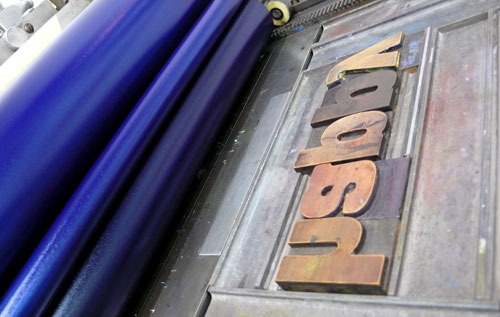
On the press. When you set the type, you also tighten from the side and the bottom by using the tool:

It is hard to work with mirrored letters, actually, the instructor suggested that you use mirror and make sure it reads right.

When you are ready to print, you put ink on the roll, and go back and forth to have the letters inked.

Vandercook Press. You set the paper and grab the big handle and just roll…

and you have your letterpress prints!

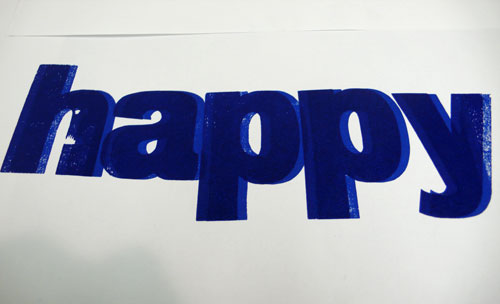
Here, I printed twice by just moving a little bit so it overlaps:

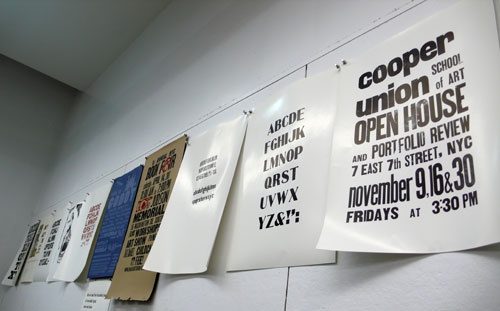
Other pretty letterpress prints on the wall:

Can’t wait for next class!