Letterpress Class 5

I have been so busy that I forgot to do my Letterpress Monday yesterday!! Oops. It was canceled last time so it’s been 2 weeks since my last letterpress class and in the meantime, I have ordered my first polymer plate from Boxcar Press! It was recommended by my instructor and turn around was very fast and I had no problem getting my plate, if you are thinking of having your plate made, I recommend Boxcar Press, too.

I ordered 7.5×11 inches sheet with 12-13 projects on it — you can cut it and use it indivisually. You can reuse it as many times as you’d like.

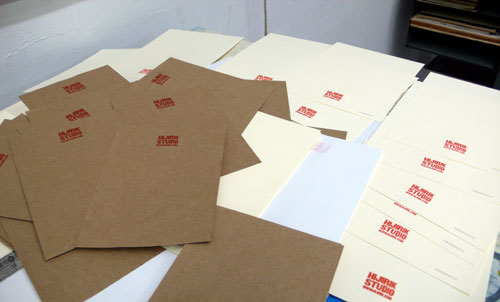
Out of all the projects I made a plate of, I started with a little thing for myself… holiday card back stamp (front will come later) and my note cards. Just so I can practice printing with polymer plate, too.

On Vandercook Press:

You use this grid base. The plate comes with double-sticky tape so you just stick to it. After you are done printing, you can seal it back and save it in the ziploc bag that also comes with the plate for future use.

The cream color paper is for holiday card and the brown paper is for my little notes. To adjust the paper so it prints in center and to adjust the plate to exactly where you’d like to print, it takes time and practice, but once it’s all set, printing is fun and easy!
—–

My classmates were doing their own thing and they gave me their prints so I wanted to share them here.

The school has not only wood types and metal types, they also have lots of decorative wood blocks (and more stuff, I’m sure) and here’s some prints — so pretty!
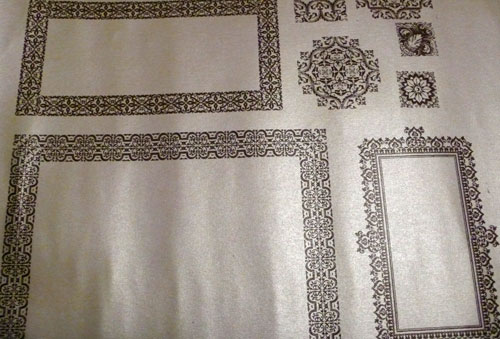
ohh, I love this guy!

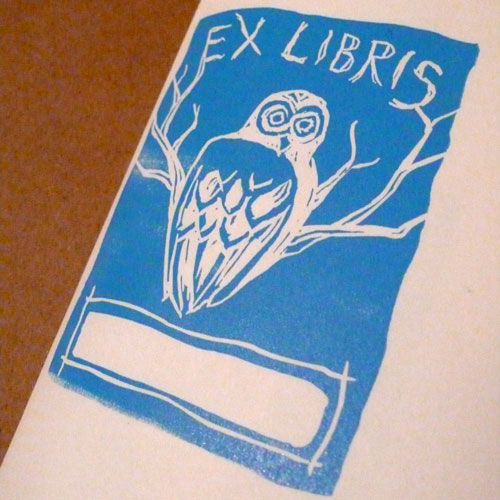
and another classmate was printing a bookplate with linoleum. What a good idea! The owl is cute, too.
I have to plan ahead so I can do as many letterpress projects in 5 more classes… I don’t want it to end, though!
Letterpress Class 4

In the last class, we did something different – linoleum printing! Ohhh, it was fun!

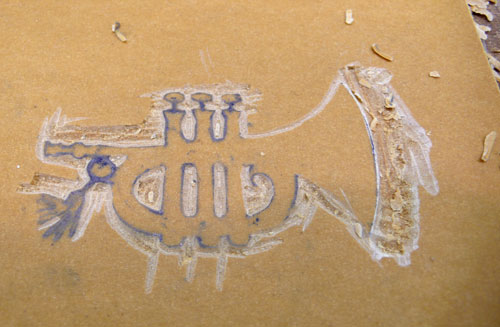
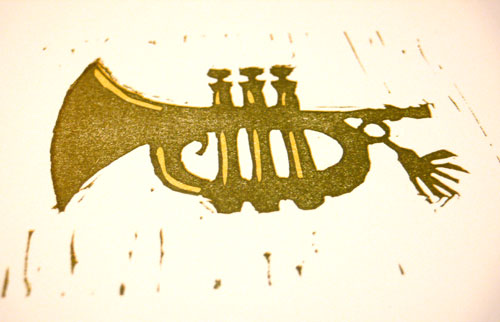
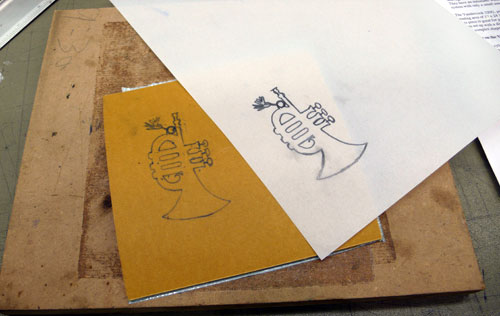
Preparation – you can directly draw on the linoleum or trace something if you want to use certain art. Here, I traced a trumpet art by using a tracing paper. You can buy the linoleum on the board or just the sheet of it. The instructor had a sheet of it for us so we attached the sheet on a wood board with double stick tape before we worked on it.

And you just carve it by using linoleum cutters!

It is softer than wood and easier to carve.

Almost done… I didn’t need all the linoleum so I cut out the rest.

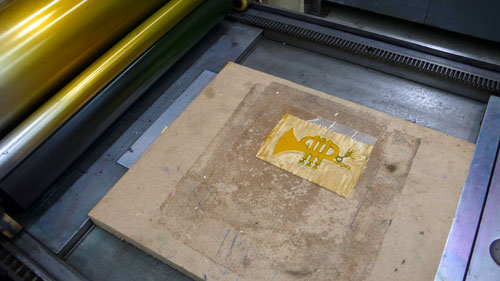
and you just set it on the Vandercook press (You might need to place papers underneath to raise the board a bit) put some ink, and print.

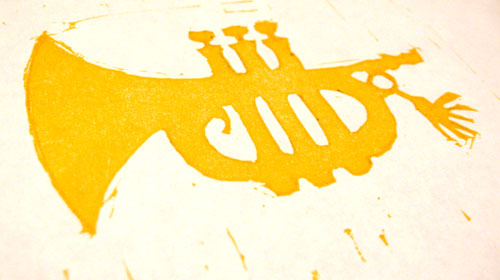
and here it is! My trumpet print!

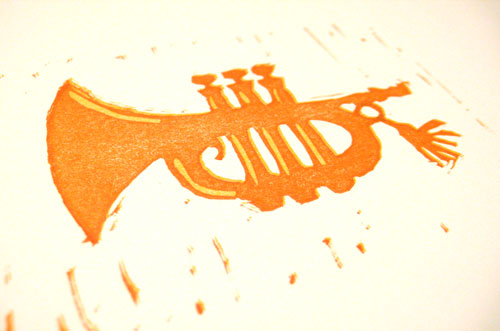
From here, I tried to experiment 2 color printing. I made a little change on the linoleum and so the first color would show though as highlight or shadow. And take the first print and go through the press one more time.

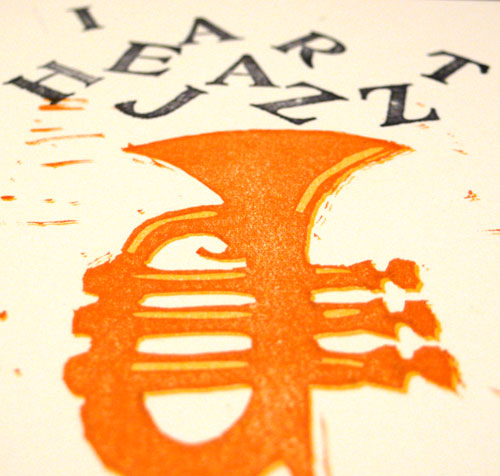
It came out nicely! I did one with orange, one with olive green.

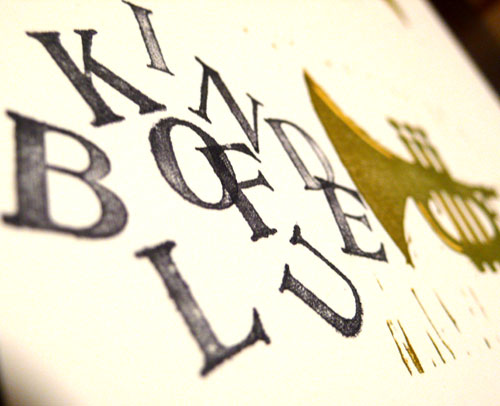
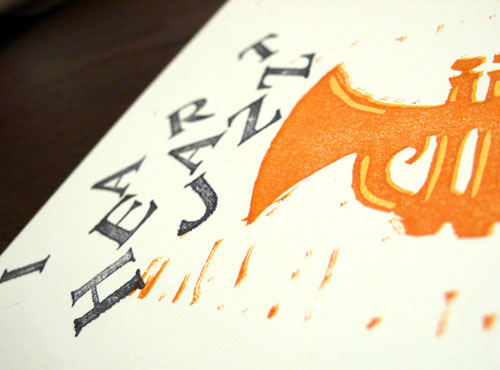
I also wanted to incorporate some letters so when I got home, I took my stamp set and created these prints.

“Kind of Blue” (inspired by Miles Davis album)

“I heart Jazz”

What do you think?

I want to make more lino prints now!

Letterpress Class 3 (Giveaway!)

Last Thursday, I learned how to do typesetting with small metal types. It could be a very tedious work, especially, if you are typesetting a whole book in 10-12pt or something (oh boy, I don’t know how long that would take!) I really like typesetting it by hand, though, I guess I’m on computer too much.

This is a composing stick. You use this to assemble pieces of metal type into words and lines.

This is a whole set of “Garamond 24pt”:

We each got a cheat sheet / Layout of the case. This helps a lot when you are setting a type one by one:

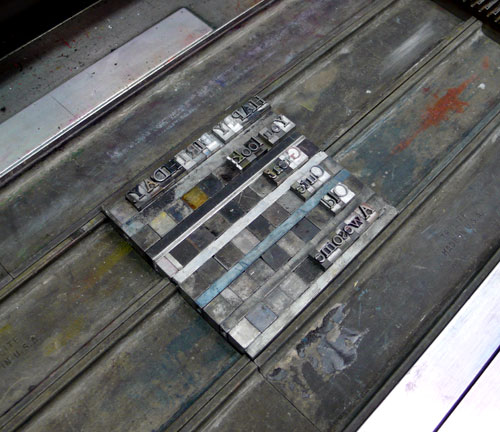
My work in progress. You start from the left bottom side, the letters are all up side down, but this is the top of the line. Yes, very tricky, at first:

As the composing stick gets full, you place them into the tray and keep setting the types:

When you are done with typesetting, bring the tray and slide everything onto the press (so it won’t break or anything):

And you set the metal types tight by using those bars so they won’t move around and you are ready to print!

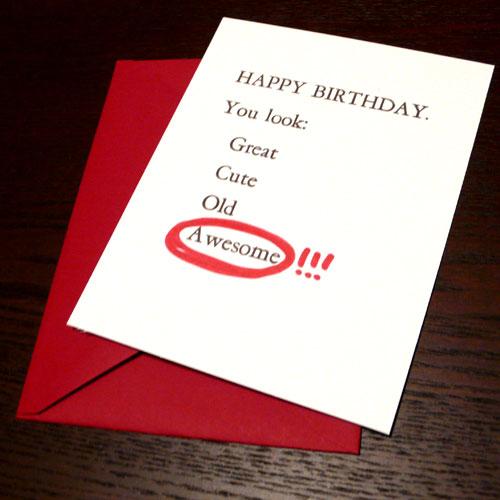
Here is what I printed this week – A birthday card with a little bit of DIY:

You just have to circle one that you think the birthday girl/boy looks! You can circle multiple if you’d like, and add more to it, make it funny, make it cool… it’s going to be personalized by you.

I am thinking to giveaway this letterpress card for my fellow readers today! Just leave your comment here by Wednesday, October 29th, and I will randomly select a winner. I will ship it Internationally if you are not in the US and you won the giveaway so please don’t worry.

It is an A2 folded blank card (4 1/4 x 5 1/2 inches) printed on 157lb rough surface white paper with an A2 envelope.

Thank you!

Letterpress Class 2

Last Thursday, we learned how to make a polymer plate and how to print from the plate, how to do 2 color print.

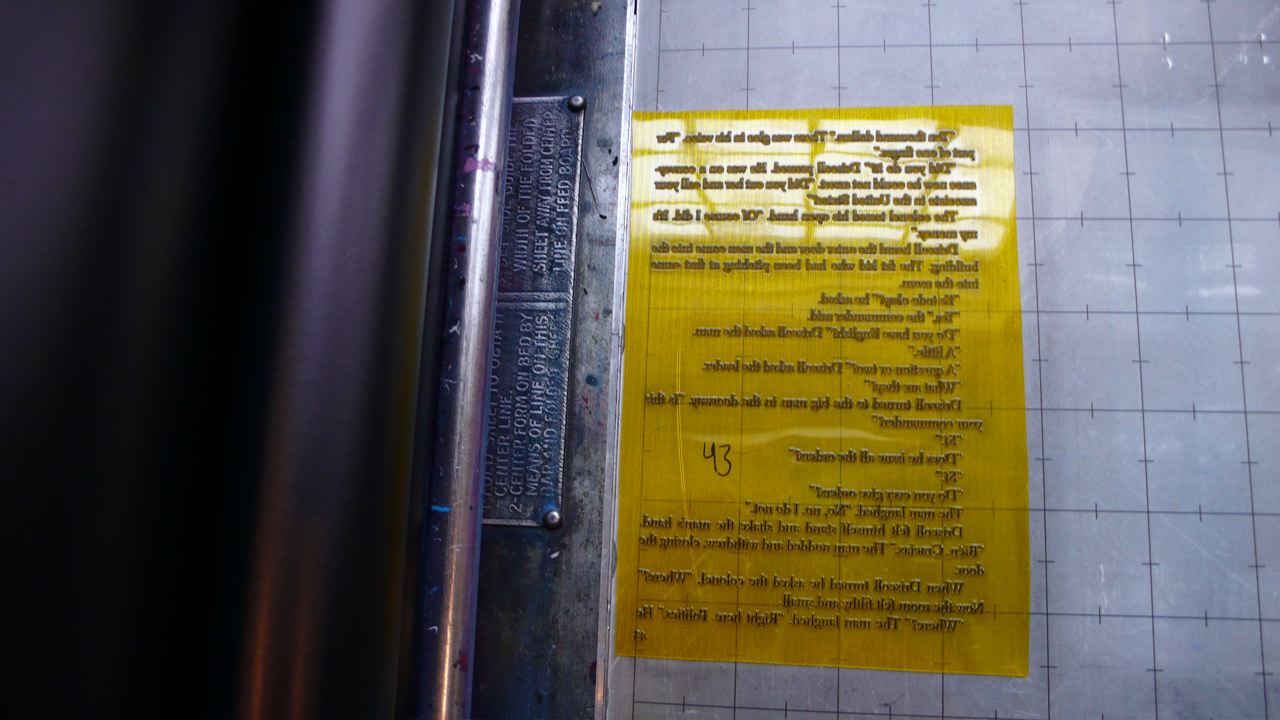
Here’s what a polymer plate looks like (I had no idea it was that thin!) – You use it with the board underneath:

I also learned about how much ink to use, I kept putting too much ink and that wasn’t good… You really don’t need that much ink to print.

So we have no class next week and we have to order the plate by following class so we can start printing from the plate – I have so many ideas and things I want to print, I have to work on it! You create a digital file and then order the plate.

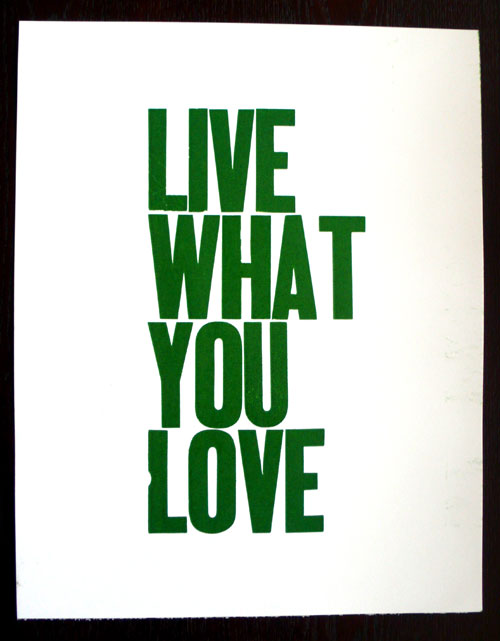
For the rest of the class, I used wood type and printed some posters:

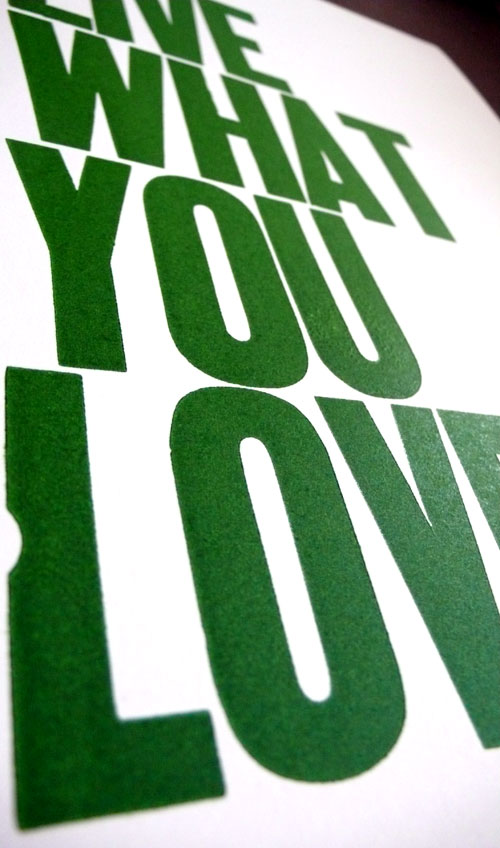
“Live What You Love” Green:

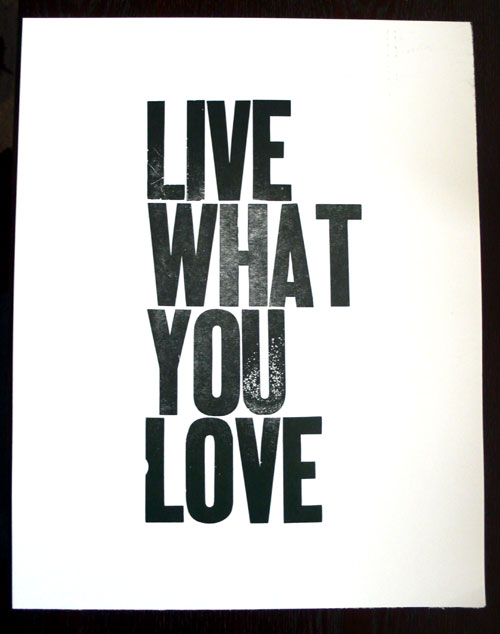
“Live What You Love” Black:

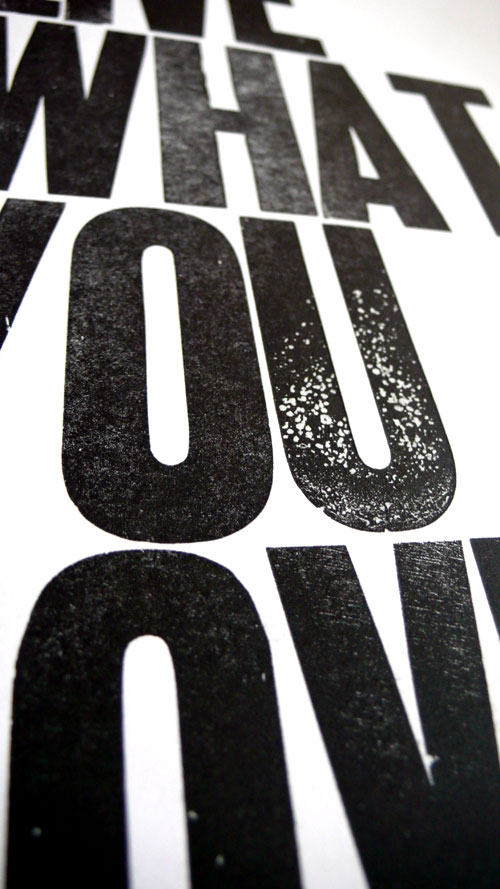
After reducing the ink (I had too much at first), the “U” showed an interesting texture:

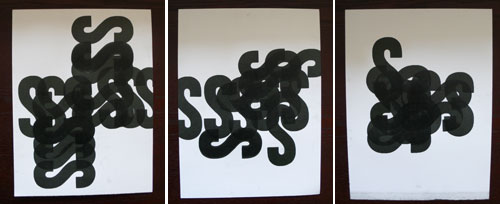
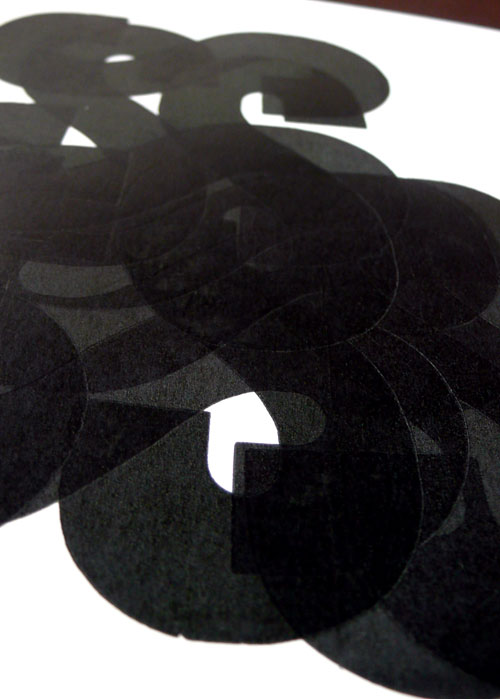
And then, I had 30 more minutes to play around so I just took letter “S” and did some fun with it:

So I’ll come back to Letterpress Monday in 2 weeks!