Good morning! Hope you all had a great weekend. Starting today, I am participating Poppytalk Handmade for “Paper Pops,” a paper goods and affordable art market! When Jan and Earl contacted me and invited me, I was super excited and of course said yes without no hesitation. Please visit Poppytalk Handmade for more great artists and products!
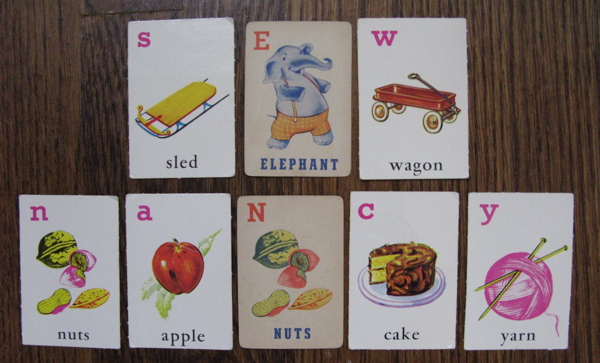
I wanted to start a week by sharing my printing process for my new alphabet greeting cards. I had this idea for a long time, I’m so happy it’s finally printed and available for everyone! More alphabet cards will follow… but here are the first 4. I printed them in a few different sessions, I couldn’t do this in 1 day… (well, maybe…?)
I wanted to incorporate wood type and polymer plate (design from computer) so all the big letters for the cards are printed with vintage wood type blocks and the rest was designed in computer.
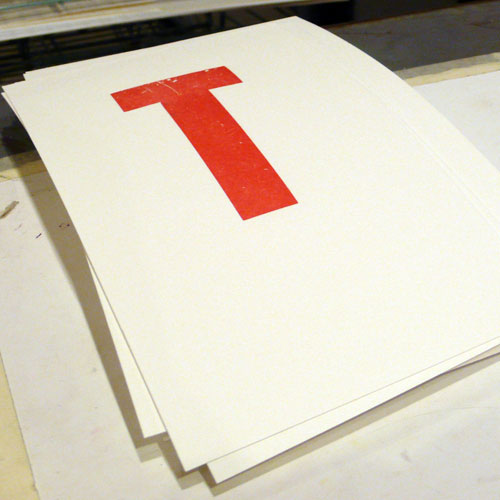
Letter T:
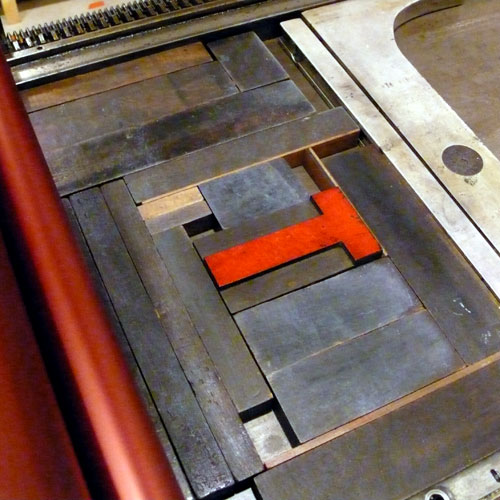
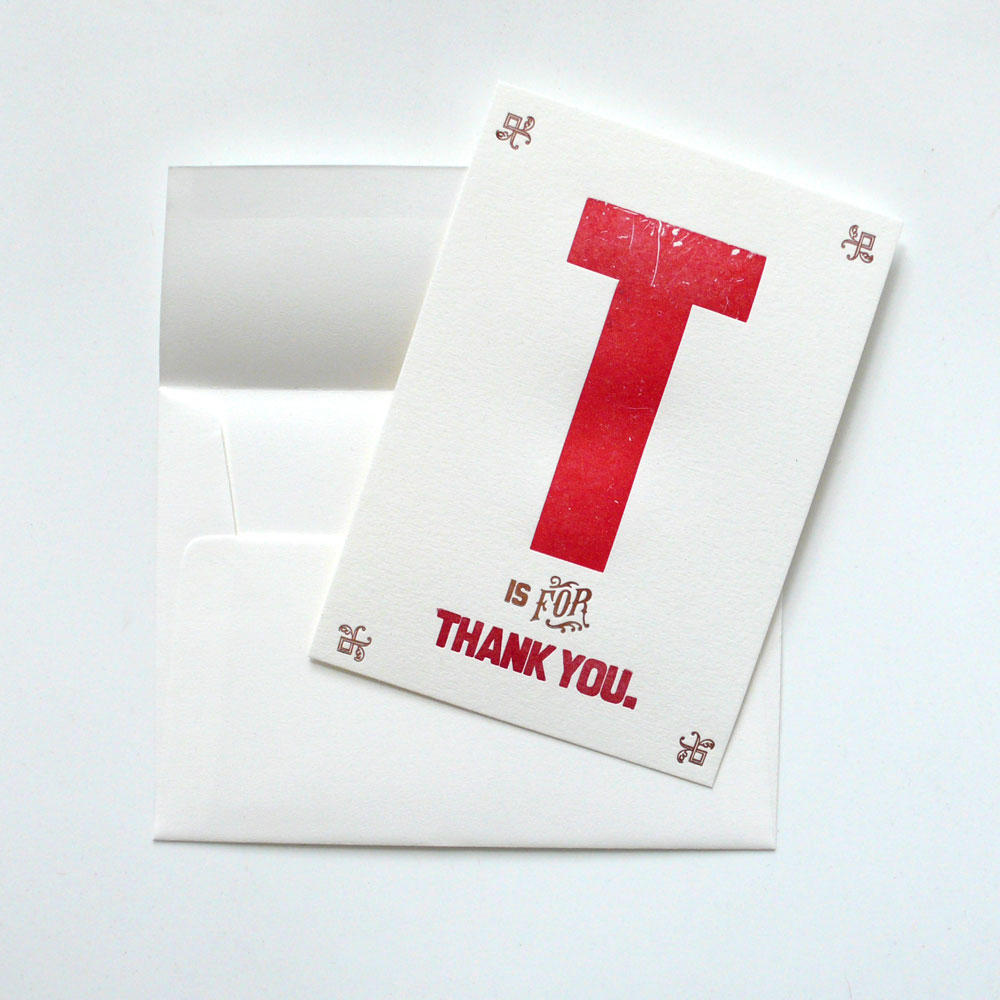
This T has lot of texture.
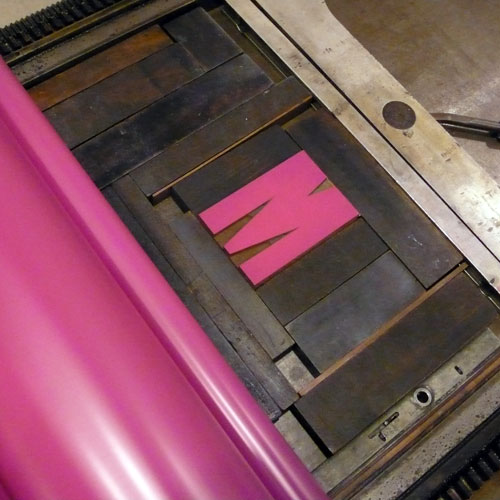
Letter M:
Letter B:
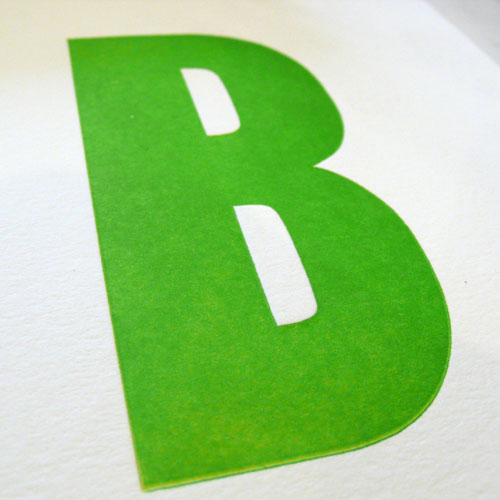
and “Birthday!” underneath.

and then, I realized that I could print wood type and polymer plate at the same time like this. See, I’m always learning. It worked out great!
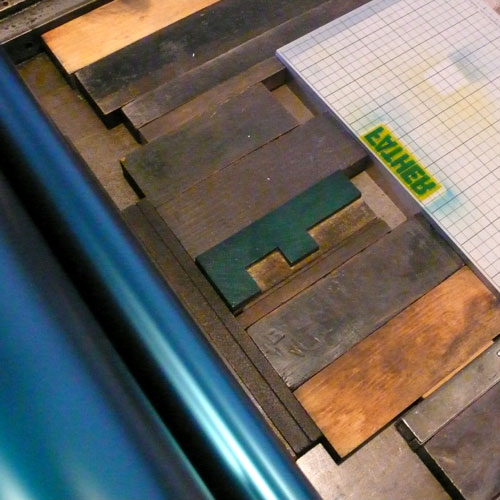
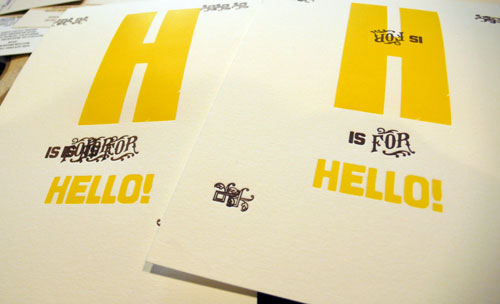
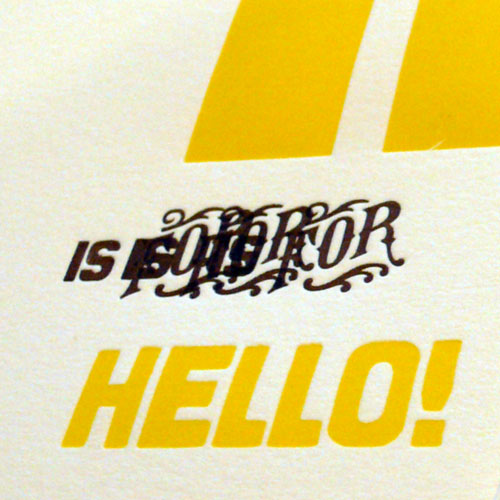
After printing all the letters, apply the 2nd color – the border and the “is for” in the middle. I always design everything in Illustrator first, print it out, use it as a guide.
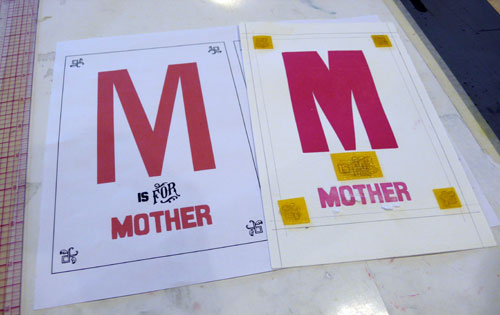
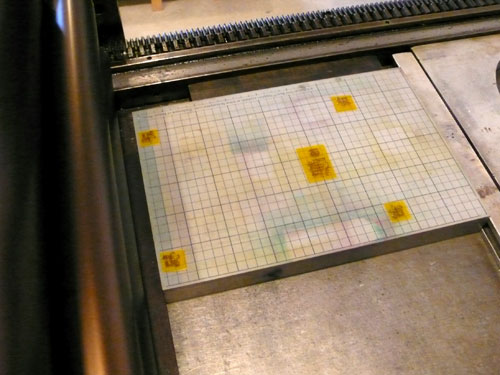
On Vandercook press:
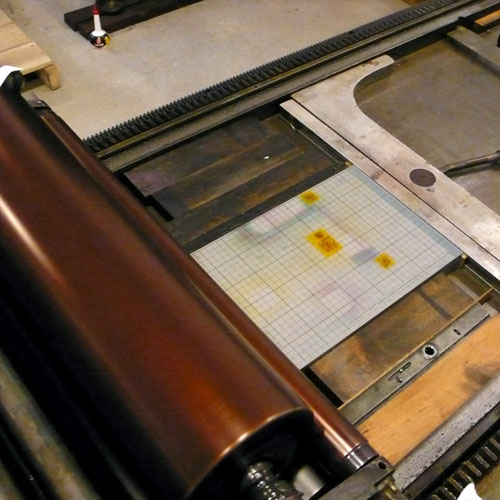
Lots of adjusting to do, but once that’s done, just print, print, print…..
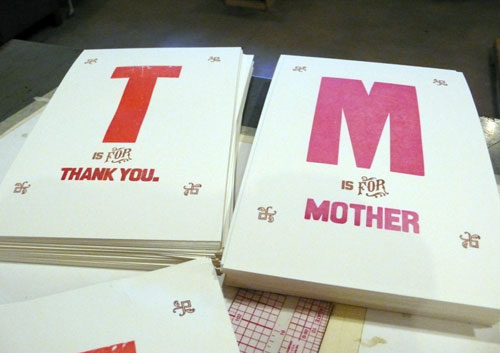
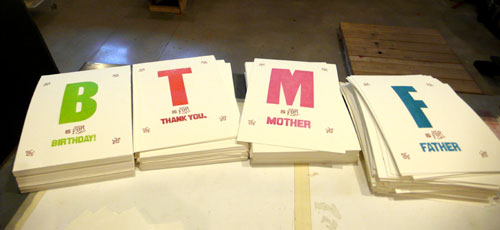
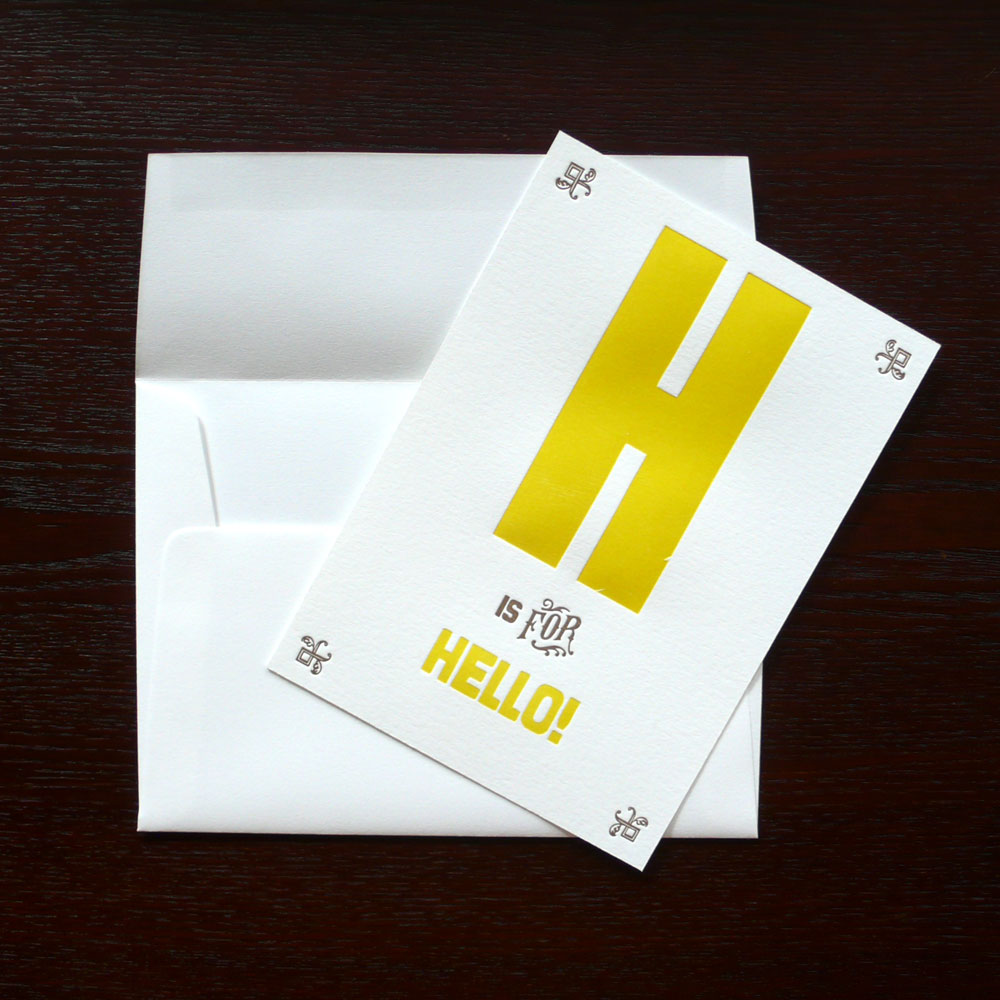
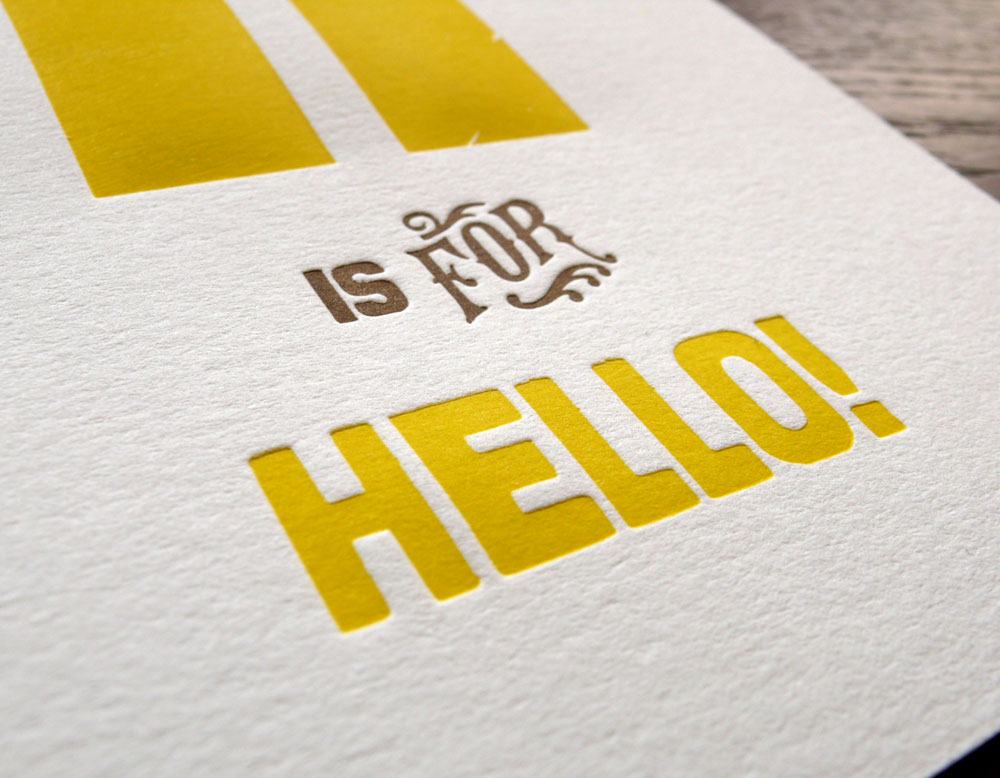
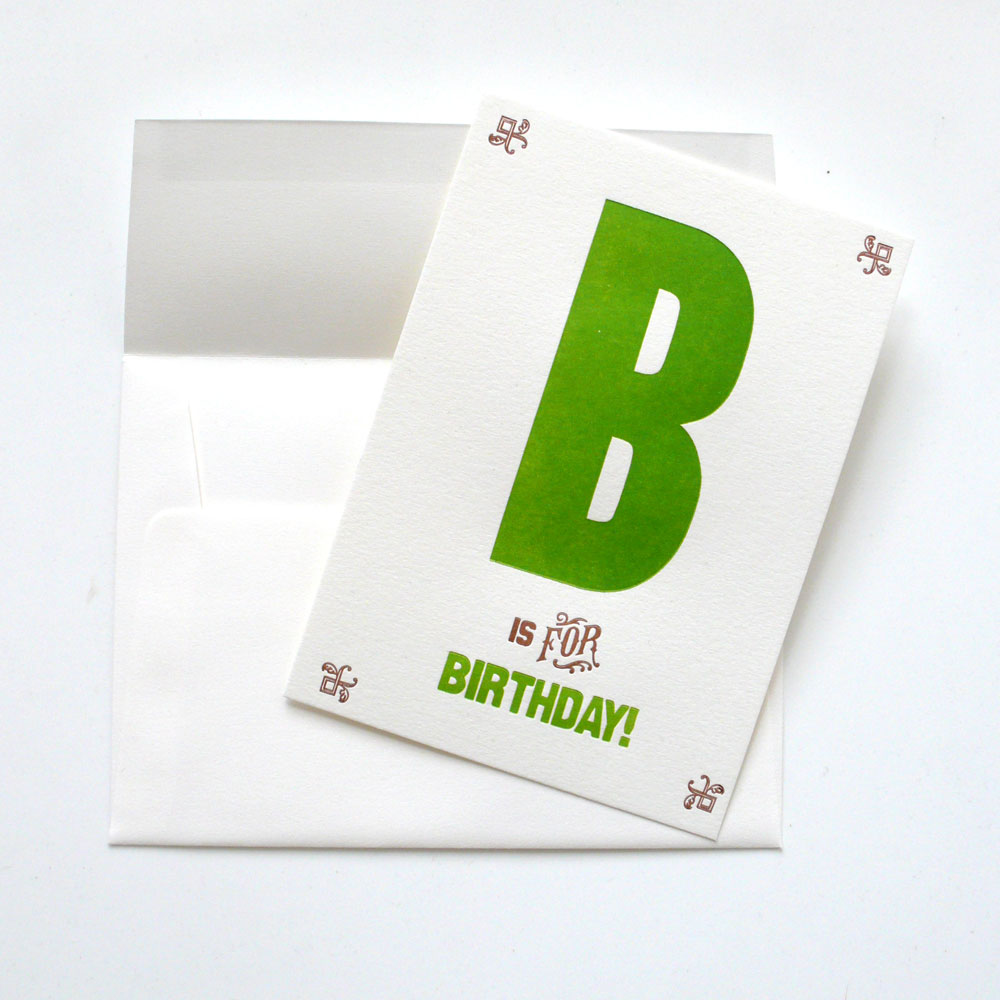
and here are the final product. I am so happy with the result!
B is for Birthday!
T is for Thank You.
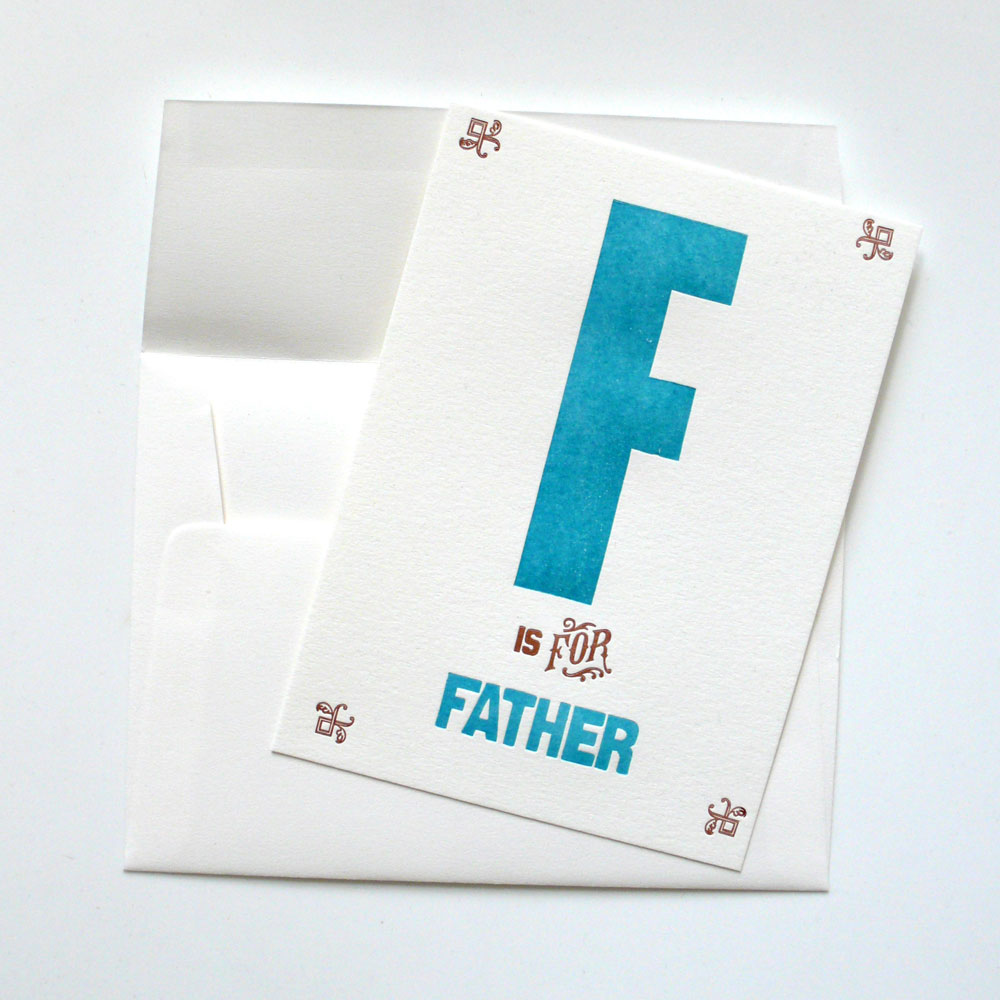
F is for Father (Reminder: Father’s day is June 21st this year.)
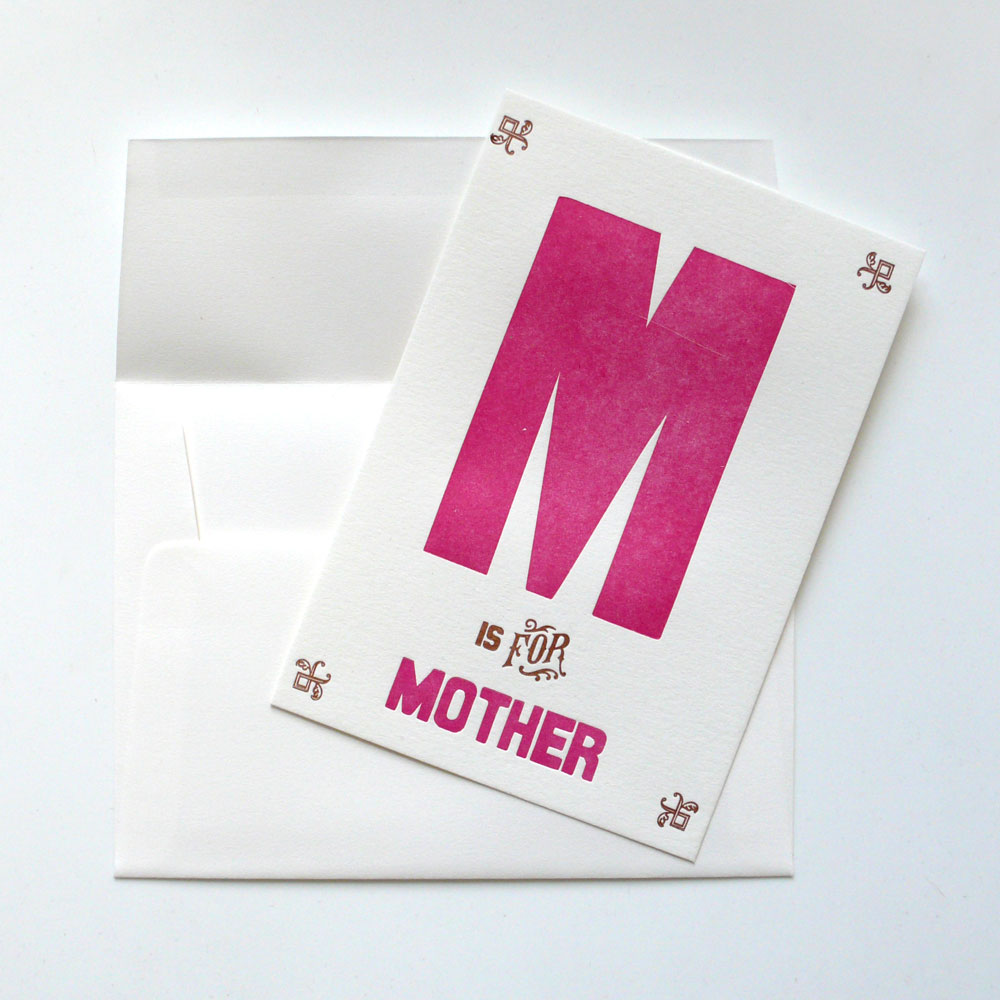
and M is for Mother (Hope you had a nice Mother’s Day!) This card will be so cute for baby shower, mother-to-be, or anything mother related things!
