Last week, I finally printed my business cards that was one of my main projects to do in this class and I am so excited that it came out so great!
I brought a few printouts of the business card so I can use it as a template. I’m doing 2 colors here so I’m going to start with the red.
Put double-sided tape on the polymer plate and…
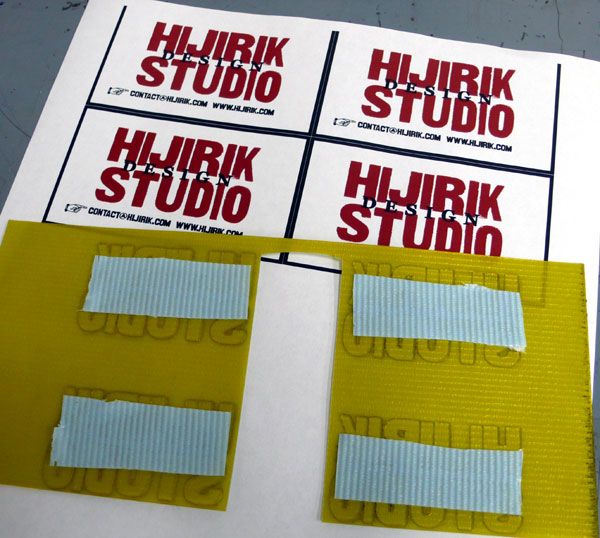
place it on top of the printout to match exactly where it is.

Take the printout with the plate and run the press….
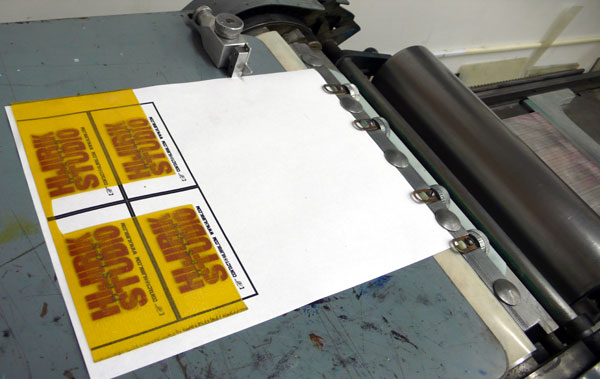
and the plate sticks exactly where you want to print! I love this trick!!
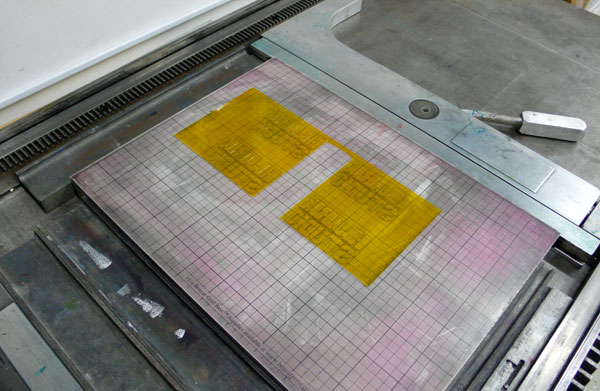
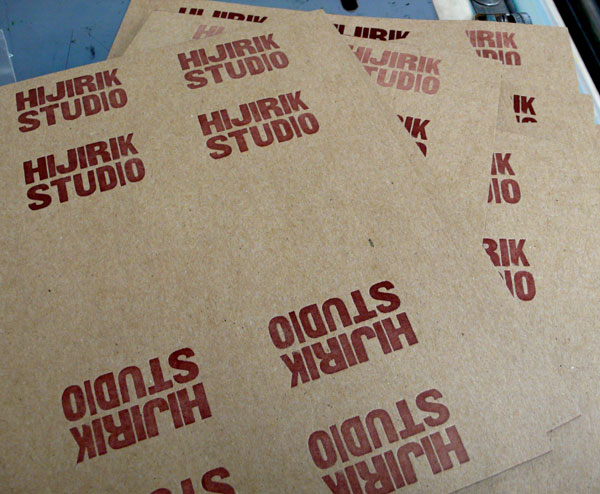
Printed on bunch of yes, chipboard. Run it twice top and bottom so I can have 8 cards on one sheet in 8.5×11.
OK, the second color, black next. Using double-sided tape, place the plate on the printout exactly where it should be.
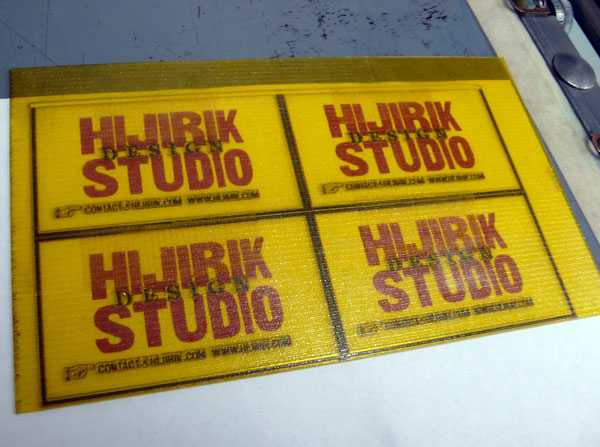
and run the press to place the plate.
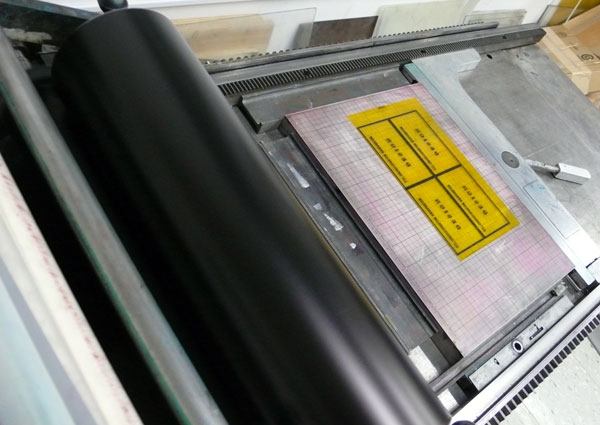
and print on the first sheet… here it is! I printed about 320 cards!
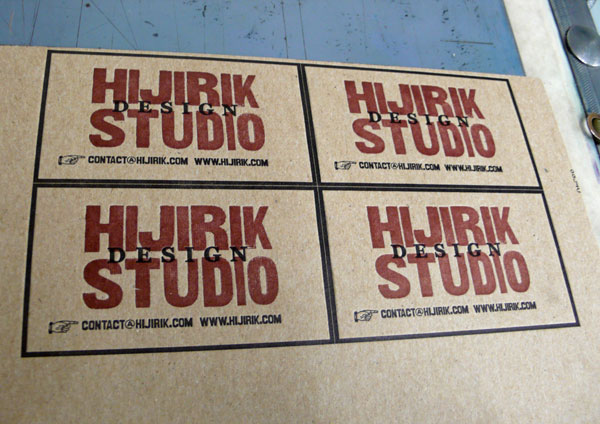
I trimmed them and here are the final result. I have 3 versions… I couldn’t decide which ones yet… but I love them so much – the impression is again so wonderful.
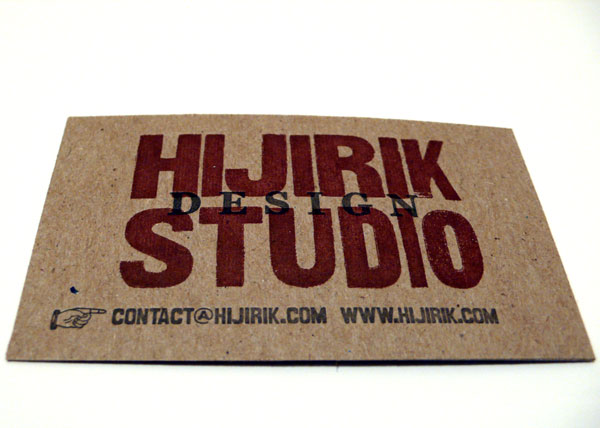
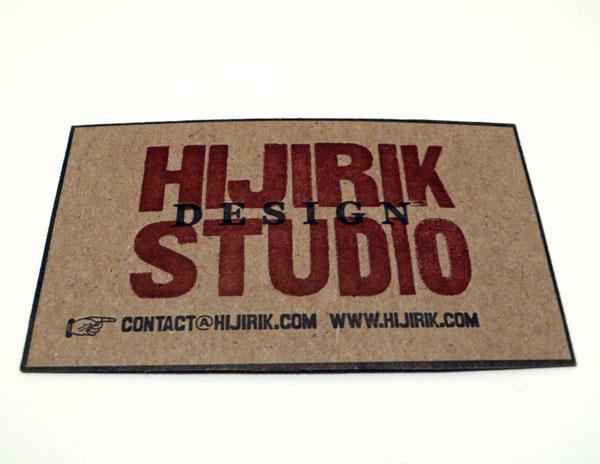
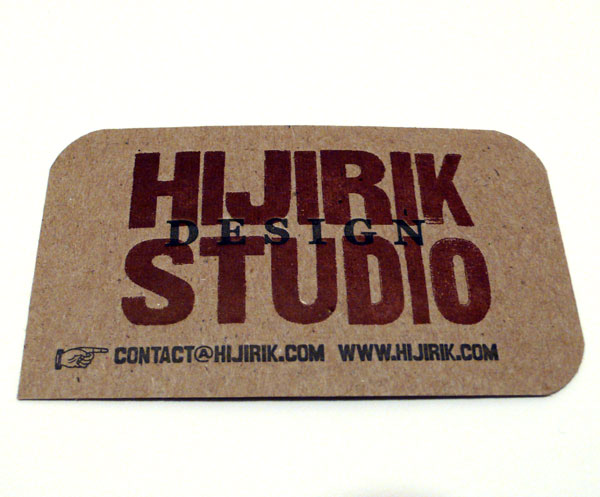
What do you think?!
The chipboard was a wonderful choice! I think these turned out fantastic. Out of the 3 choices, I like the one in the middle with the black boarder the best. I feel like the boarder brings out word “design” polishing it off nicely. All three are great:-) I wish i could find the time to take a letterpress class!
Hi Samantha-
Thank you so much for your feedback! Yes, you are right, the border brings out “design” more. Love hearing other talented designer’s eye on things! Thank you!
I love your work, you inspire me a lot. I like letter-pressing but here in my country I cannot find someone who can teach me. Continue posting your journey cause I´m fascinated.
Hexefish>
thank you for your comment! Your comment inspires me, too, thank you so much!! I will continue my letterpress journey for sure!
I like the ones with round corners!
Nice work!
Nic-
oh cool, you like that one! I like it because it looks like a conversation bubble… don’t you think?!
Thank you for your comment!!